This article explains in detail how Version Control Pro works.
Step 1. Create Repository
Step 2. Check in File
Step 3. Check out File
Step 4. Check Your File From Windows Explore
Step 5. Check Your File From Microsoft Office
Step 6. Add Your Files into Watch List
Step 7. BaseLine Management
Step 1. Create Repository
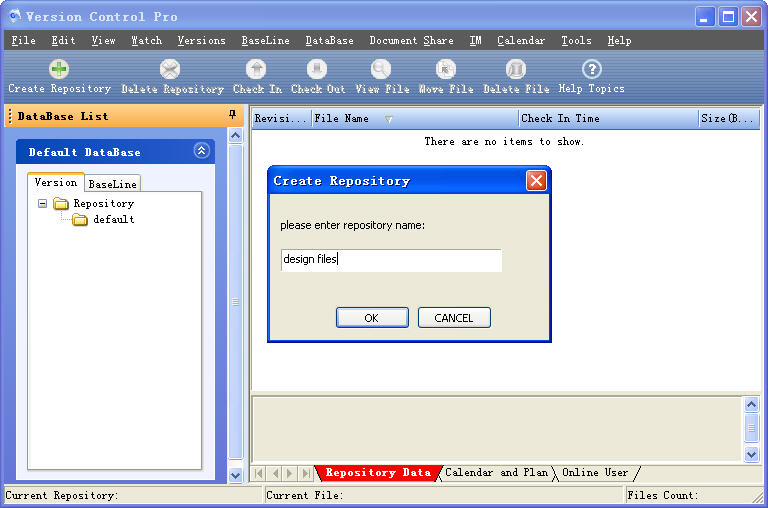
The first step of using Version Control Pro is create a repository. There is a default repository in Version Control Pro, but maybe the default repository is not what you need, so you can create more meaningful repository. The repository you create will help catalog your files.
Click the File menu, and then click the Create Repository sub-menu. Input the repository name you want.
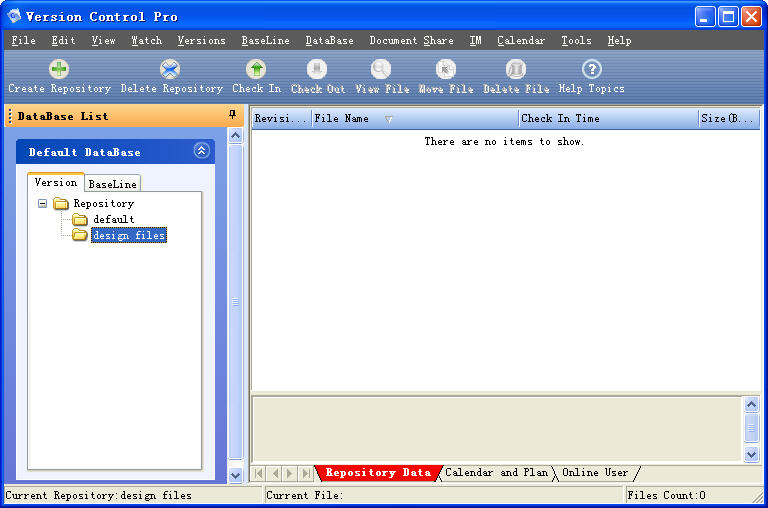
then you have created your own repository.
Step 2. Check in File
Choose the repository you want your file to be checked into.
Click the File menu, and then click the Add File sub-menu, you will see a prompt dialog let you choose your file that you want it to be checked into.
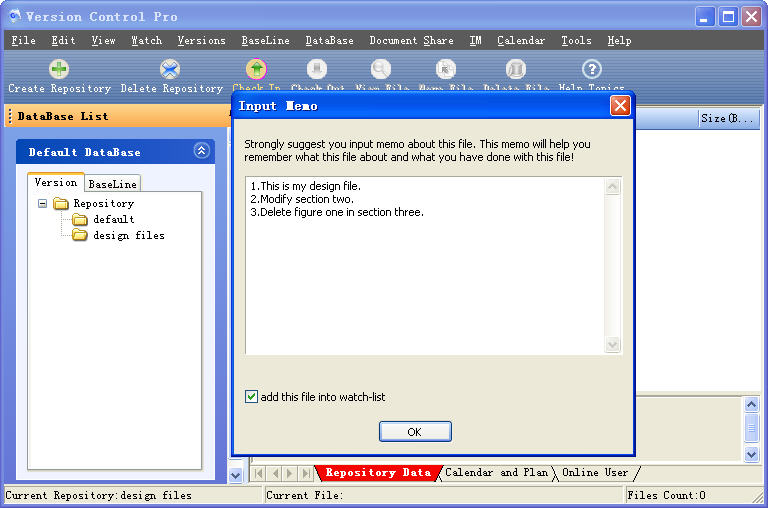
After you have chosen your file, you will see a dialog that let you input memo about your file.
NOTICE:Input your memo about your file is very important. you can input memo what's about your file and what you have change about your file. Version Control Pro will record the memo what you input. We strongly suggest you input your memo.
Then you have checked into your file, and when you select the file, you can see some details and memo about the file:
Step 3. Check out File
When you need, you can select the file and click the Versions menu and Check Out sub-menu to extract your file:
Step 4. Check in Your Files From Windows Explore
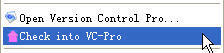
Click your mouse right-button on a file in Windows Explore, you will see below menu let you check this file into Version Control Pro.
Step 5. Check in Your Files From Microsoft Office
Version Control Pro completely integrate with Microsoft office software, include office 2000, xp, 2003, 2007, Micorsoft Project,Visio and Outlook. That means you can check your documents into Version Control Pro anytime you want when you edit your office documents.
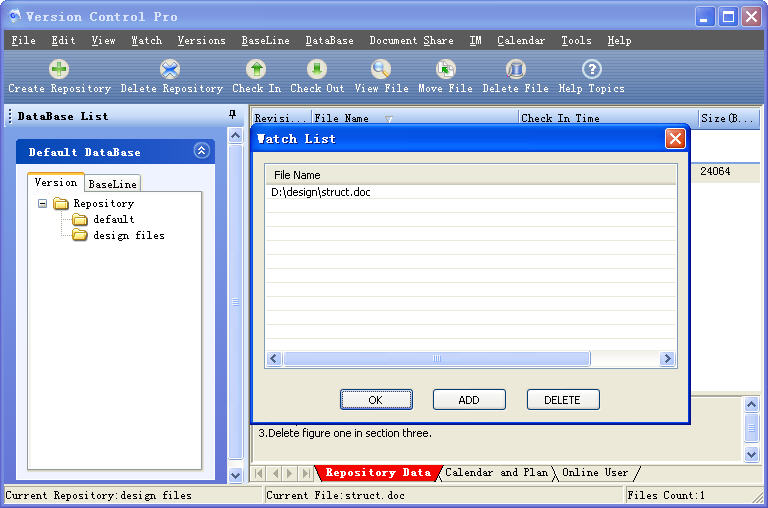
Step 6. Add Your Files into Watch List
You can add your documents into Watch List of Version Control Pro, so when those your documents are modified, Version Control Pro can prompt you check those documents into Version Control Pro.
When the file in your watch list has been modify, Version Control Pro will notify you to check this file into it.
Step 7. BaseLine Management
BaseLine is a collection of a group of files at specific time. It include a group of pre-defined files. You should add files that should be listed in this baseline first and then check your files in. BaseLine is a great helper about version control.
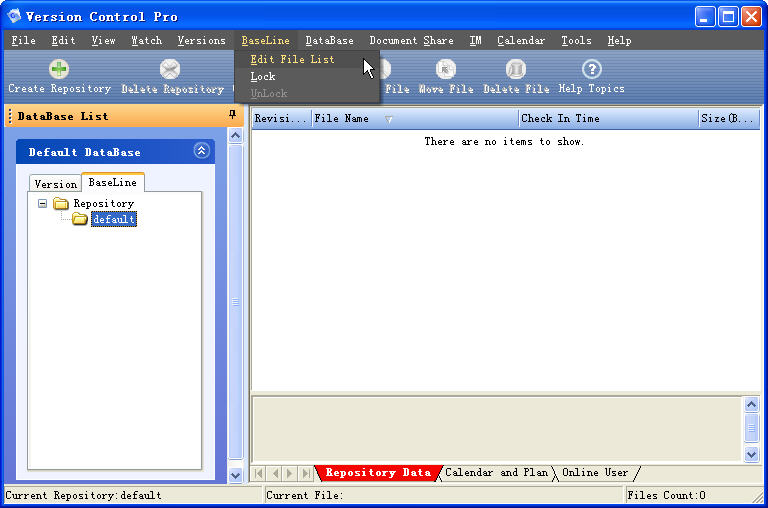
1.Edit pre-defined files list.
Choose a BaseLine repository, and click BaseLine menu and Edit File List sub-menu.
and then you can check files into this BaseLine repository. If you don't add files into this pre-defined files list, you can not check files into this repository.
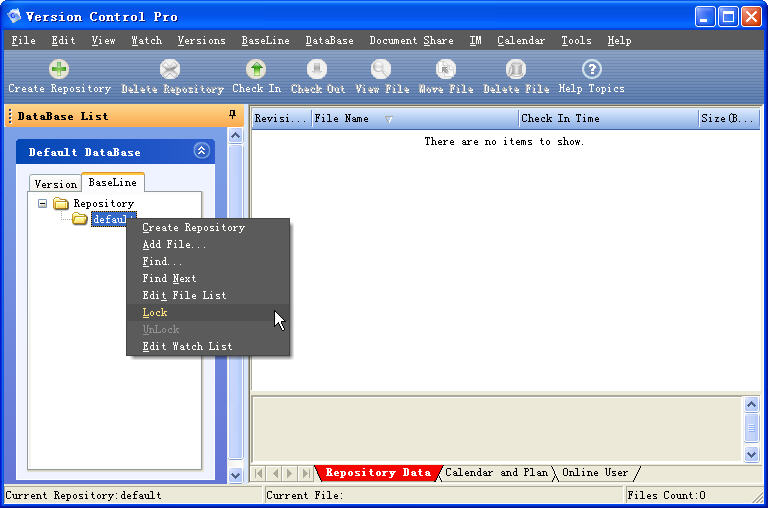
2.Lock repository.
If you have checked all the files you need into this repository already, you can lock this repository. You can avoid mistaken operations by this way.
Calendar and Plan is supported by Version Control Pro. You can plan your schedule and Version Control Pro can remind you to do your things. At the same time, you can print your calendar an plan out.
?2006 - 2008 upRedSun Corporation. All Rights
Reserved.