The first step of using Network Programming Gear is create a project. When creating your project, you can choose your protocol is TCP-Based or UDP-Based, the target platform is Windows or Unix(Linux), the library type you want to build is dll library or static library. At the same time, the protocol name you are creating must be gaven and must select a saved location.
Step 2. Add Head Fields
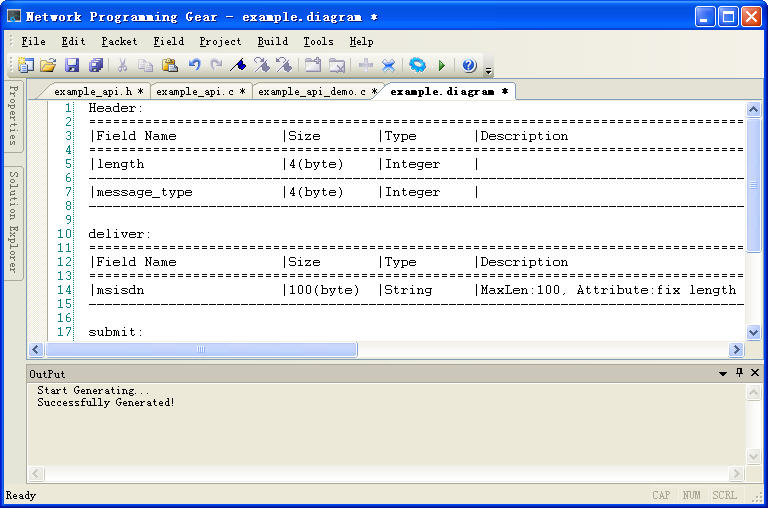
After you have created a empty project, you can add your protocol fields into the protocol head. Basically, a protocol head should include message "total length" field and message "packet type" field.
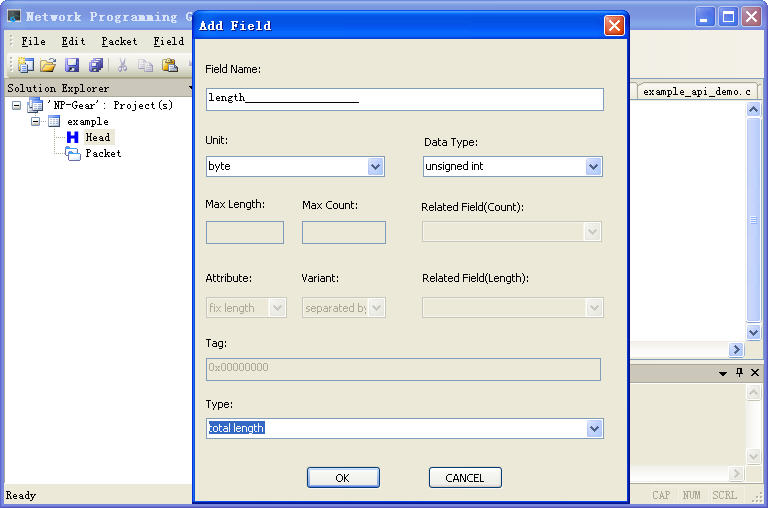
When adding your protocol fields, you must enter the field name.
The field "Unit" you can choose is "byte","bit" or "TLV". If you choose is "bit", the field "Max Length" edit box will be enable to let you enter the field's max bits.
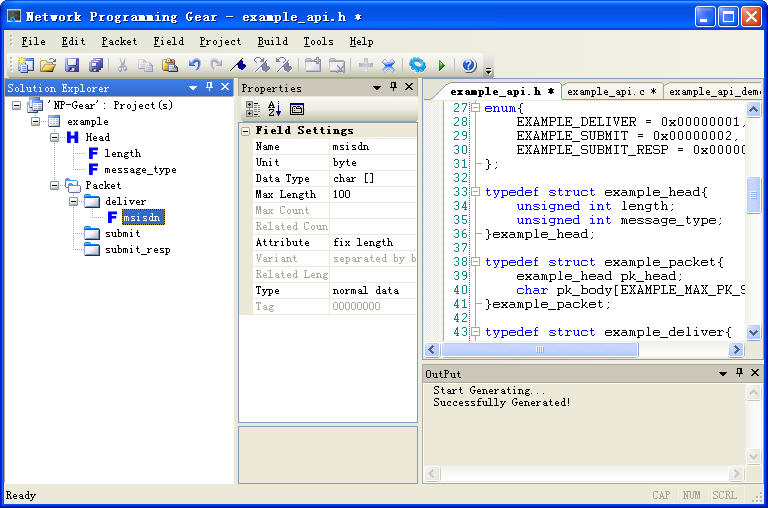
The field "Data Type" you can choose is "char []", "char *" or some others integer data type.
If you choose is "char []", the "Max Length" edit box will be enable to let you enter the char array's max length; the "Attribute" combox will be enable to let you choose. If the field "Attribute" you choose is "variant length", the "Variant" combox will be enable to let you choose the field variant way. If the field "Variant" you choose is "separated by binary 0", the field length will be figure out by binary 0, if you choose is "select a related field" or "select a related field,additional binary 0 at end", the field "Related Field(Length)" combox will be enable to let you choose a related field in head fields. By this way, the field length will be figure out by this value of the related field in head.
If you choose is "char *", that means the field will allocate memory dynamically. The field "Max Length" edit box will be enable to let you enter the max unit length of this field and the field "Max Count" means the numbers of unit. Under this situation, the field max buffer size will be figure out by the value of "Max Length" plus the value of "Max Count". You must choose another field in header for "Related Field(Count)". The real count of units will be figure out by this field when network communicating. The meaning of field "Attribute", "Variant" and "Related Field(Length)" you can reference the introduction when the field "Data Type" you choose is "char []".
The field "Type" you can choose is "header length","body length","total length" and "packet type". If you choose is "header length" that means the message head length will be figure out by this field when communicating. If you choose is "body length" that means the message body length will be figure out by this field when communicating. If you choose is "total length" that means the message total length will be figure out by this field when communicating. If you choose is "packet type" that means the message type will be identified by this field.
NOTICE: You must add your protocol fields by the order that their sequence in your protocol.
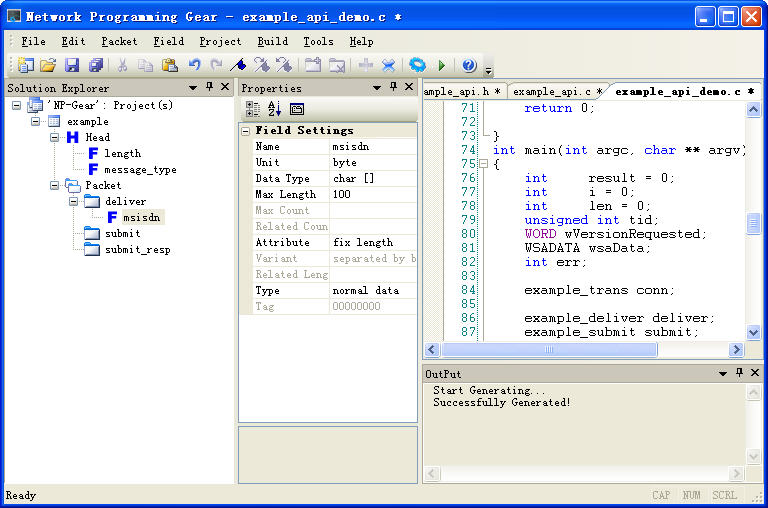
Step 3. Add Packets and Packet's Fields
You can add many packets and packet's fields as you want.
You must enter the packet's name and value of the packet's type when you adding packet

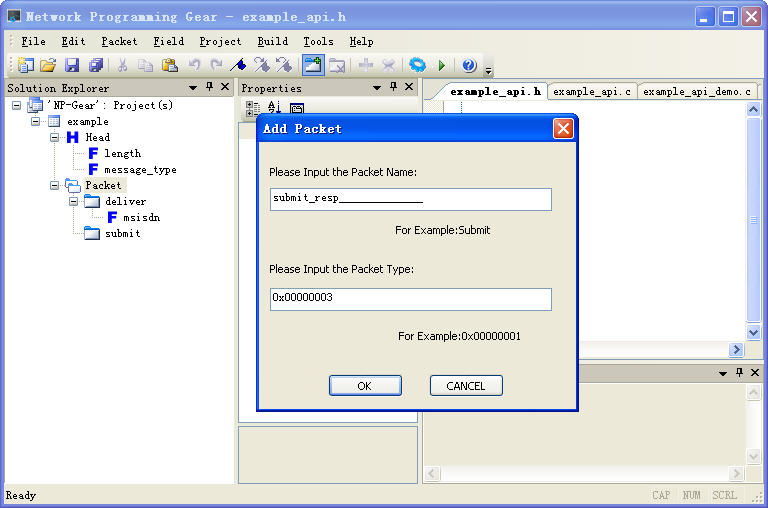 .
.